Driving
How far 1V4DEMON drives, where it goes wrong, and who ends up paying for it.
60.4km
Driven
6.6km
As passenger
6.8km
Longest match
10
Crashes
0.15
Crashes / km
149
Crash damage
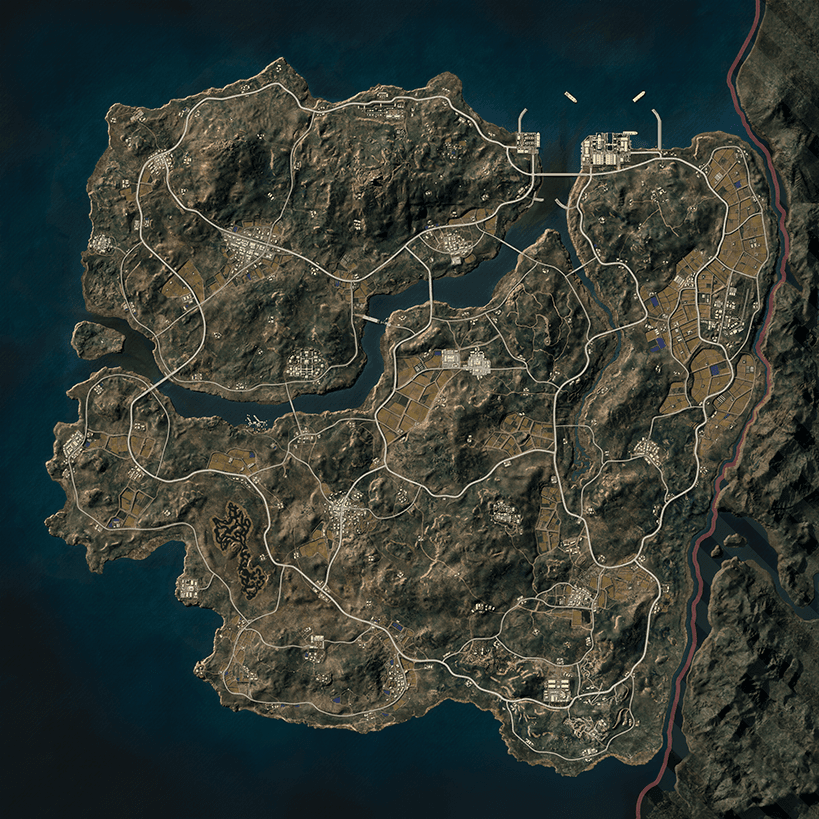
Where 1V4DEMON crashes: Taego
One dot per crash, dropped where the hurt player was sitting. Bigger dots did more damage.
Who was driving
One dot per crash, placed where the hurt player was sitting. The bigger the dot, the more it hurt. Showing 20 of 20.
Driving by map
Distance and crash rate for each map. The two rate columns only count crashes 1V4DEMONcaused from the driver's seat, so a reckless squadmate cannot drag them down. Green is the map they drive best on.
| Map | Driven | Crashes | Crashes / km | Dmg / km | |
|---|---|---|---|---|---|
 | Taego | 60.4 km | 9 | 0.15 | 2.2 |